How to Install Python on Windows
Updated:
Welcome to the comprehensive guide on installing Python, the latest version, on Windows 10 and Windows 11. Python, a powerful and versatile programming language, offers various features and capabilities. This guide will walk you through the installation process step by step, including optional features and advanced options, ensuring a successful setup on your Windows operating system.
Downloading the Python Installer
Begin by acquiring the Python installer from the official website. Python offers a convenient and user-friendly website for downloads. Follow these steps:
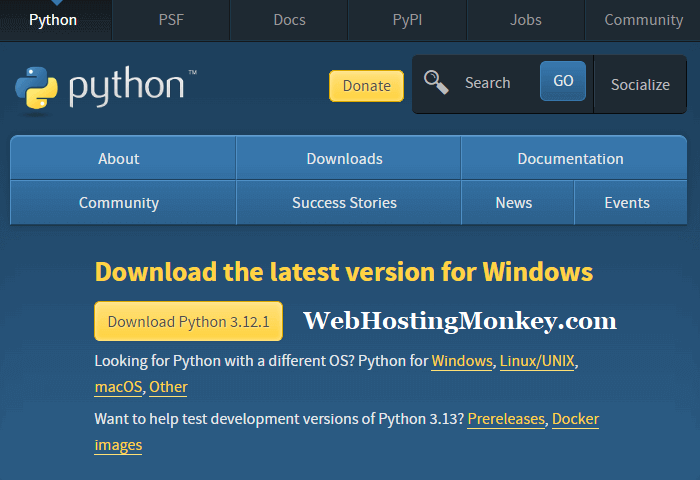
- Access the Python Website: To start the process, open your web browser and download Python at the following address.
https://www.python.org/downloads/For most users, clicking the “Download Python” button will initiate the download of the latest Python installation package to their computer. If you prefer selecting a version other than the default one, please proceed to the next step.
- Choose the Correct Version: Ensure you select the appropriate Python version for your Windows system. Python versions might differ based on whether your Windows is 32-bit or 64-bit. To check your Windows version, right-click on “This PC” or “My Computer” and select “Properties.” Under the “System” section, you’ll find the system type, which will indicate whether it’s 32-bit or 64-bit.
- Get the Latest Stable Release: Python often has multiple versions available, but it’s recommended to download the latest stable release for optimal performance and compatibility. The website usually highlights the latest stable version on the main page. Click on the “Download” button next to it.
- Choose Installation Type: You’ll be presented with options for various installation types. For most users, the standard installer is sufficient. However, if you have specific needs or are an advanced user, you might want to explore other options like the executable installer, web-based installer, or source code for customization purposes.
- Start the Download: Clicking the “Download” button initiates the download process. The installer file is typically around a few tens of megabytes in size and shouldn’t take long to download, depending on your internet speed.
Once the download is complete, you’re ready to start the installation process by running the Python installer executable (.exe) file.
Starting the Installation Process
After downloading the Python installer, it’s time to commence the installation process. Follow these steps to get Python up and running on your Windows system:
Initiating Installation
- Locate the Installer: Navigate to the folder where the Python installer file was downloaded. Typically, it’s located in the “Downloads” folder unless you specified a different location.
- Double-Click the Installer: Double-click on the Python installer file (usually ending with “.exe”) to launch the installation wizard. This action triggers the setup process.
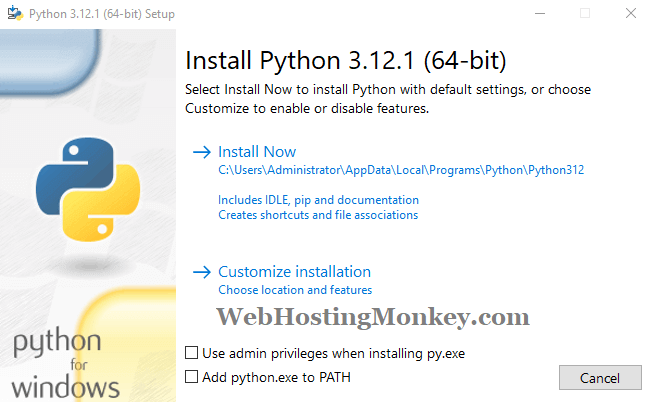
Once the installer is launched, you’ll encounter various setup options that allow customization based on your preferences and needs.
- Add python.exe to PATH: This option, if selected, adds Python to the system’s PATH environment variable. Enabling this feature ensures that Python can be accessed globally via the command line, enabling seamless execution of Python scripts from any directory.
- Customize Installation: Opting for customization allows you to tailor the installation by selecting specific components or features. Advanced users benefit from the ability to modify the installation directory and choose components to install, catering to individual project requirements.
If you choose the “Customize Installation” option, you will be able select Optional Features and Advanced Features. Otherwise, just select the “Install Now” option to continue the installation with the default settings.
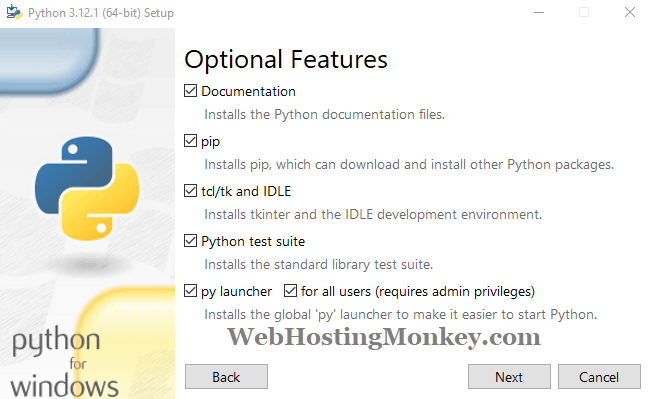
Optional Features
- pip: pip is a package manager for Python that simplifies the installation, management, and distribution of Python packages and libraries.
- tcl/tk and IDLE: tcl stands for Tool Command Language. Tkinter (often referred to as tk) is Python’s standard GUI toolkit used for creating graphical user interfaces. Tool Command Language is a scripting language used in conjunction with the Tk toolkit to create graphical user interfaces (GUIs). IDLE is Python’s Integrated Development and Learning Environment, featuring a basic code editor and interactive Python shell for coding and learning purposes.
- Python test suite: The Python test suite refers to a collection of automated tests designed to evaluate the correctness, functionality, and performance of Python’s interpreter, libraries, and components across different environments and platforms.
- py launcher: The py Launcher is a tool on Windows systems that enables the execution of different installed Python versions and associated scripts via command-line shortcuts like py followed by specific version or script identifiers.
Advanced Options
- Install for all users: Enabling this option installs Python for all users on the system, allowing multiple user accounts to utilize Python without separate installations. It ensures system-wide access to Python.
- Precompile standard library: This advanced option precompiles Python’s standard library modules, potentially enhancing the performance of specific applications. However, note that enabling this feature might elongate the installation duration.
- Download debugging symbols: This feature downloads additional files useful for debugging purposes. It’s primarily beneficial for developers troubleshooting Python applications, providing detailed information for debugging processes.
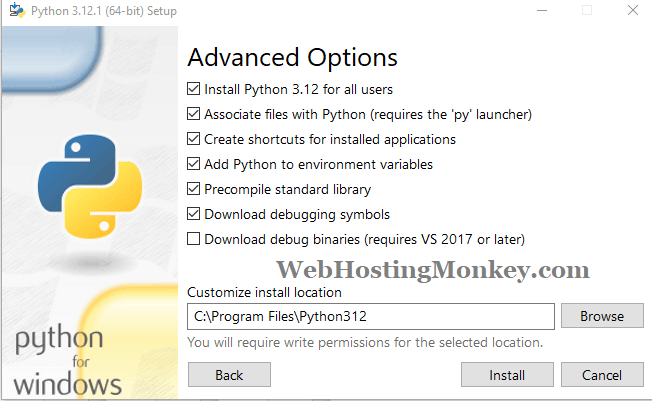
Ensure you review and select the options that align with your requirements before proceeding with the installation.
Once the preferred options are chosen, click on the “Install Now” or similar button to initiate the installation process.
Throughout the installation, the wizard will display the progress, and you might need to grant administrative privileges to complete the installation successfully.
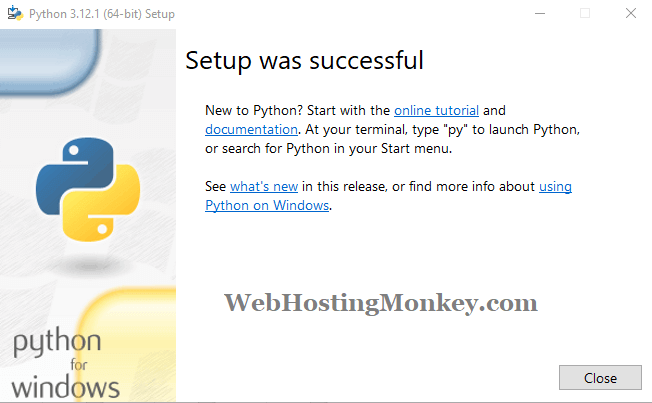
After the installation is finished, you’ll be able to verify its success and begin using Python on your Windows 10 or Windows 11 system.
Verifying the Python Installation
After completing the installation process, it’s essential to verify that Python has been installed correctly on your Windows 10 or Windows 11 system. Follow these steps to confirm the successful installation:
Check Python Version
To check the installed Python version, follow these steps:
Open Command Prompt: Navigate to the Start menu or press `Win + R`, type “cmd,” and hit Enter to open the Command Prompt.
Enter Version Check Command: In the Command Prompt window, type the following command:
python --version
Press Enter after entering the command.
If Python is installed correctly, the Command Prompt will display the installed Python version, confirming the successful installation. You’ll see the version number, such as “Python 3.x.x,” indicating the installed Python version.
Test Python Interpreter
Verifying the functionality of Python involves using the Python interpreter. Here’s how to do it.
Access Python Interpreter. In the Command Prompt window, type:
python
Press Enter to initiate the Python interpreter. This action will display the Python version and prompt with “>>>” indicating that you’re in the Python interpreter environment.
Once in the Python interpreter, execute a simple Python command to ensure Python is functioning correctly. For example:
print("This is a tutorial on Web Hosting Monkey!")
Press Enter to execute the command. If Python is installed correctly, the interpreter will display the output, confirming that Python is operational.
To exit the Python interpreter, press `Ctrl + Z` followed by `Enter`. This will return you to the Command Prompt. Alternatively, you can type “exit()” to exit the Python interpreter environment.
With these steps completed successfully, congratulations! You’ve verified the installation of Python on your Windows system and confirmed its functionality.
You’re now equipped to begin coding and utilizing Python for various projects on your Windows 10 or Windows 11 environment.
Installing Python via Microsoft Store
Alternatively, you can install Python on your Windows 10 or Windows 11 system through the Microsoft Store.
To do this, simply open the Microsoft Store application on your Windows device and search for “Python.”
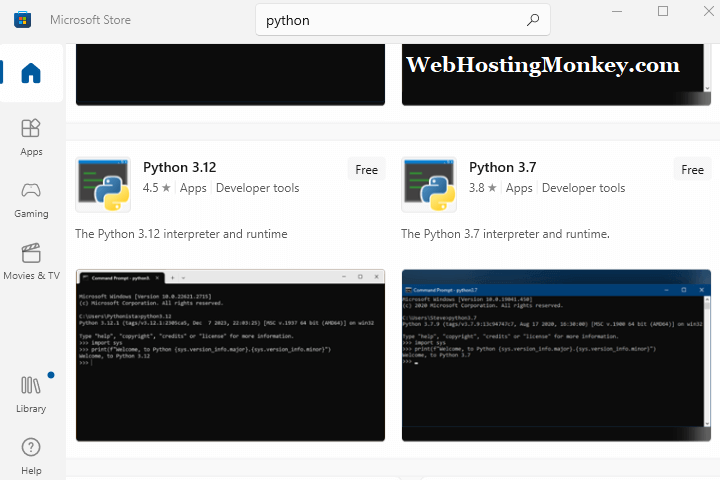
Find the official Python distribution offered in the store and click on the “Install” or “Get” button to begin the installation process.
It’s important to note that while the installation method differs, the result of installing Python via the Windows App Store remains the same as installing it through the traditional executable (.exe) file. You’ll have access to the Python interpreter and standard libraries to start coding and developing applications.